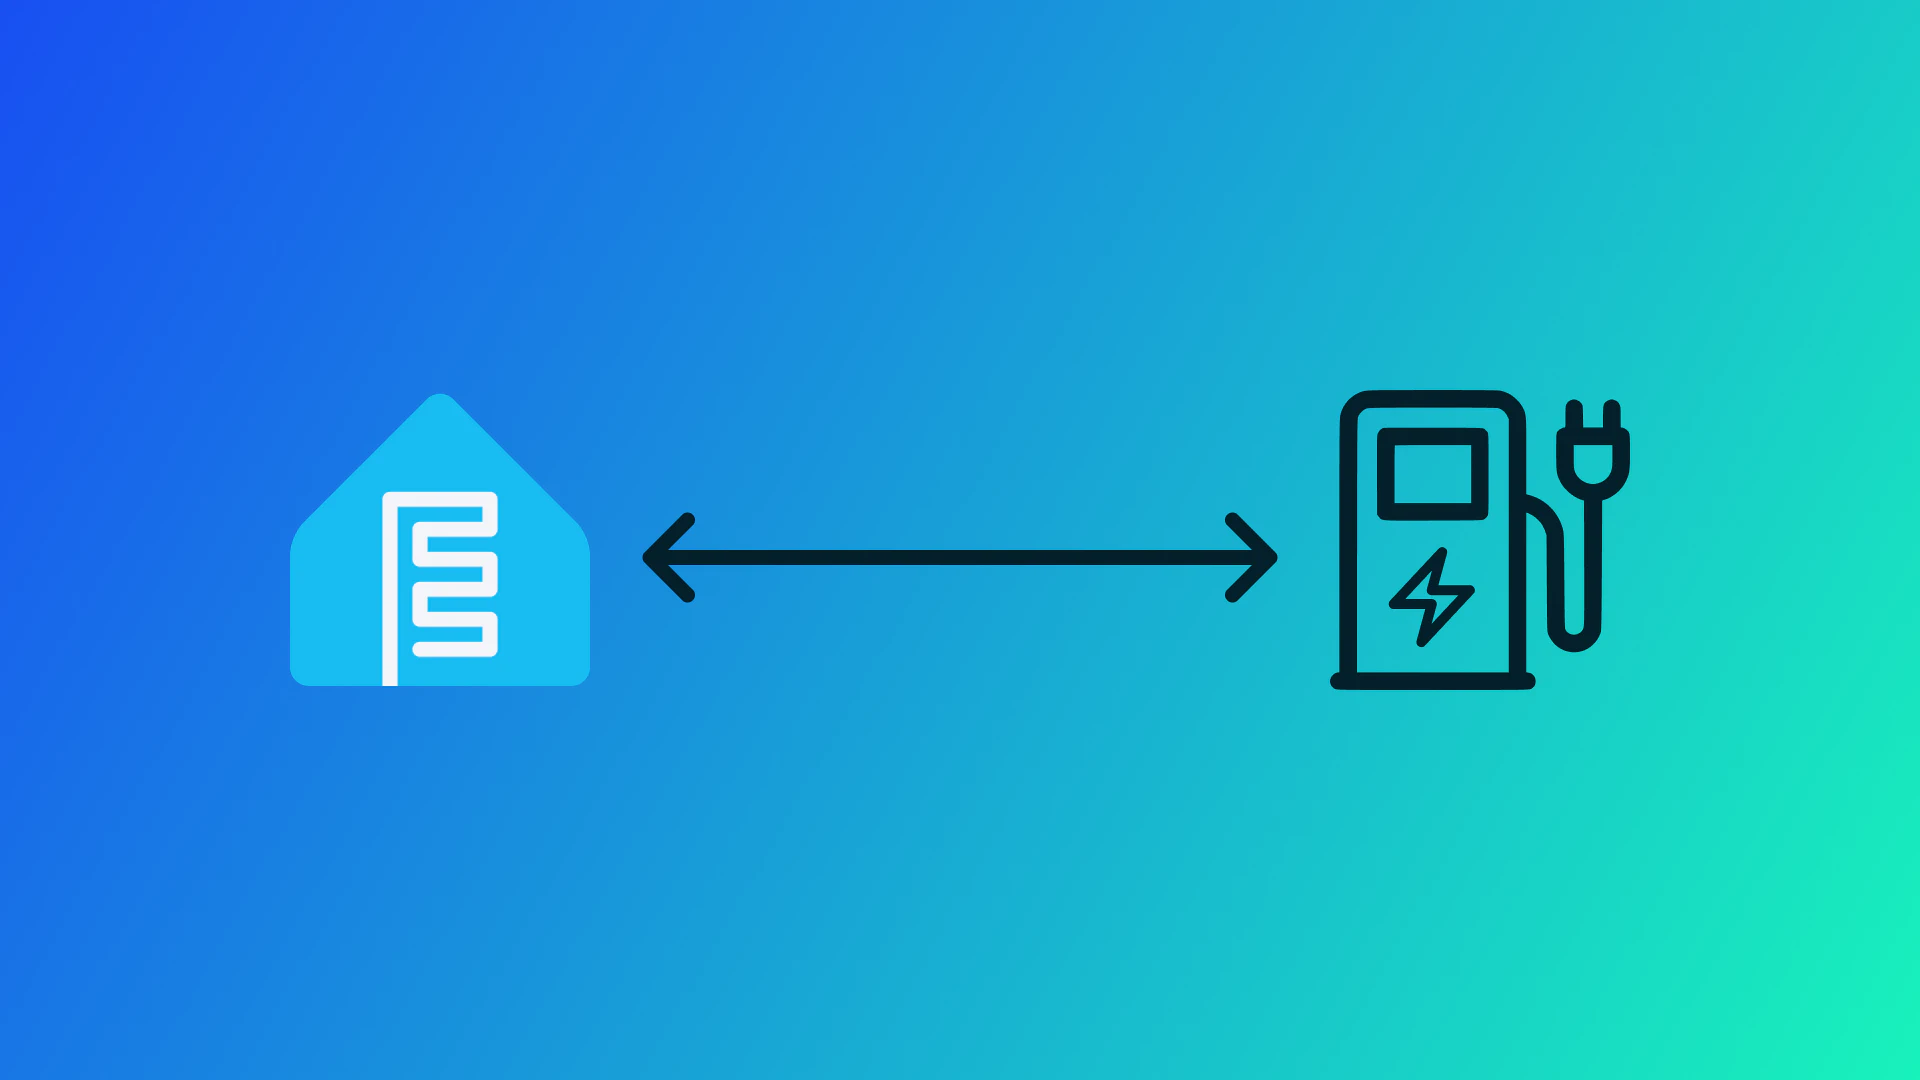
A week ago I wondered if I could integrate my ABL eMH1 22kW with my Huawei Fusion Solar inverter. Thanks to ESPHome and a project on GitHub by jrv this is not only a dream. Although the forum post on the Home Assistant forum specifies other hardware I got it working. I ended up using a Wemos D1 mini (or a clone of it) with a DC-DC step down converter and a MAX485 TTL converter for the MODBUS communication with the wallbox.
- Wemos D1 mini
- DC-DC step down module (needs to be capable of stepping down 12V)
- MAX485 TTL module
- 1000μF electrolytic capacitor
- ciruit board to fit everything on
- RJ45 crimp connector


Inside the eMH1 there is a header with 12V, might be hard to see on the picture but it’s deep inside to the bottom left of the circuit board (where I attached the red and blue wires). The headers are labeled 12V and M for +12V and GND respectively.

My wallbox uses RJ45 jacks for the RS485 interface so I crimped my own connector according to the pinout @zwartevogel sent on the forum. Different models and wallboxes manufactured before or after a certain date seem to have different connection types for the RS485 bus so check yours before buying your materials. The M pins are just another ground connection. Depending on your step down converter you might want to connect these pins to your ground bus. Mine uses the same ground for the in- and output so I don’t need to do this.

In case you have two sockets for the RS485 bus either use the one where it says CONTROL or use the first one (the one on the bottom). If you connect to a METER socket you will likely not be able to change the amperage or other settings of the device.

I covered the backside of my board with electrical tape and chucked it into the enclosure of the wallbox and closed it back up.

But before you can control the wallbox you will need to configure your ESP. Inside the GitHub repository there is an example config file for ESPHome. Copy that into the editor of ESPHome but don’t install yet. You will first need to do the changes listed below because we are using a different ESP and ESP board and therefore a different pinout.
substitutions:
  name: abl_emh1
  device_description: "Monitor and configure ABL eMH1 Charger via RS485/Modbus-ASCII"
  external_components_source: https://github.com/jrv/esphome-abl-emh1
  tx_pin: "GPIO1"
  rx_pin: "GPIO3"
  flow_control_pin: "GPIO12"

# ...

# replacing esp32
esp8266:
  board: d1_mini

# redirecting the logging uart to the second one (only TX) for good measure
# see https://esphome.io/components/uart.html#hardware-uarts
# I don't know if this is necessary
logger:
  hardware_uart: "UART1"

# ...
Now you can compile and upload the firmware to your ESP.
If you don’t see any errors in the logs of the ESP you should now be able to see the charge status of your wallbox and change the amperage on the fly.
If you have a solar power plant you can create scripts in Home Assistant to adjust the amperage to match the amperage of the output and never pay for your battery charges again.