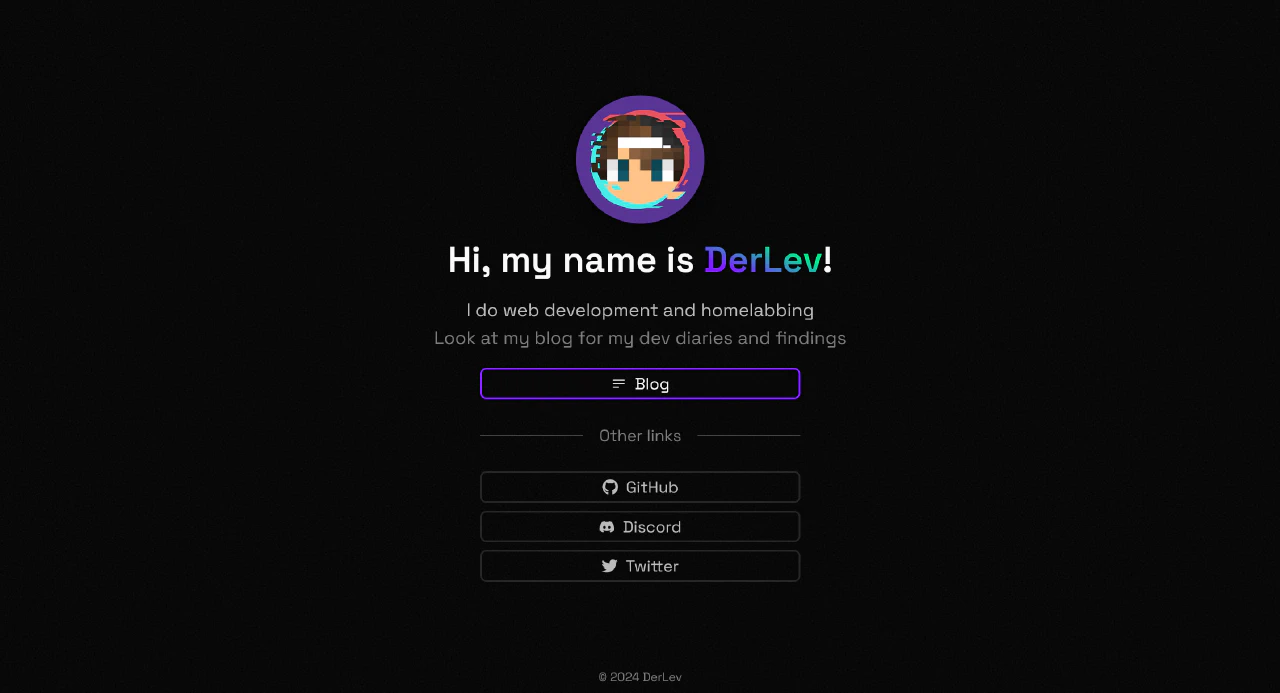
My idea was to have a website with a blog. The previous version of this website was built with Next.js and although it is certainly possible to build a blog and pull the content from markdown files, I wanted to build something that was easier to maintain. That’s when I remembered that SSGs like Hugo exist.
So I began watching some videos on Hugo starting with my favorite channel Fireship who’s creator Jeff Delaney built his online course platform fireship.io with Hugo. Seeing how easy it is to built a website with Hugo I couldn’t wait to try it out.
The first Hugo project was to just follow the tutorial to see how Hugo works and how I can customize sites. I started looking at other Hugo sites like fireship.io to see how other people styled their sites and how some integrated a client-side router. That’s also when I remembered the meme-library flamethrower-router by Jeff Delaney. Ignoring the “Do not use in production” warning I implemented flamethrower on my testing site and to my surprise it worked really well.
So then the next part was to build out this site right?
No. I still haven’t figured some other things out.
I needed some kind of frontend JavaScript for simple things like the navigation loader or the “copy file” button in code blocks. And what other framework to use than React 😉? I looked at the git repository for fireship.io and had my solution to integrating React into a Hugo site. The solution was Custom Web Components and a vite.js app configured to output files into the static folder with a separate react.json file in the data directory of Hugo. That way you can configure the necessary <link> and <script> tags in the HTML head of the site’s layout/_default/baseof.html.
/* ... */

/* Vite plugin for syncing vite output to Hugo site */
const syncToHugo = () => {
  return {
    name: 'syncToHugo',
    /* When the bundle has been built... */
    closeBundle: async () => {
      const svelteBuild = './static/client'
      /* ...get the index.js and index.css files... */
      const assets = await readdir(svelteBuild)
      const js = assets.filter((name) =>
        name.match(/(index.)(?!.*?esm)(?!.*?css).*\w+/),
      )[0]
      const css = assets.filter((name) => name.includes('.css'))[0]
      /* ...and write their filenames to the react.json */
      await Promise.all([
        writeFile(`./data/react.json`, JSON.stringify({ js, css })),
        /* Also delete the index.html created by Vite */
        rm('./static/client/index.html'),
      ])
      console.log(`wrote ${js} to hugo data`)
    },
  }
}

/* ... */<!DOCTYPE html>
<html lang="en">
<head>
<!-- ... -->
<link rel="stylesheet" href="/client/{{ .Site.Data.react.css }}" />
<script type="module" defer src="/client/{{ .Site.Data.react.js }}"></script>
<!-- ... -->
</head>
<body>
<!-- ... -->
</body>
</html>Now there is an easy way to implement the flamethrower router and build React components. The only thing left is to convert any React component to a Custom Web Component which can be inserted into the DOM through a custom HTML tag, like <cookie-consent></cookie-consent>. Thankfully there is just the library for that.
import r2wc from '@r2wc/react-to-web-component'

const CookieConsent = () => {
  /* the react component */
}

export default CookieConsent

const WebCookieConsent = r2wc(CookieConsent)
window.customElements.get('cookie-consent') ||
  window.customElements.define('cookie-consent', WebCookieConsent)
With the use of @r2wc/react-to-web-component you can wrap React components with a Web Component class which can then be registered in the browser. The last line checks if the component has already been registered. We don’t want to re-register the component and cause unexpected issues.
And the proof-of-concept was finished. I can route between pages without the annoying white flash of the page refreshing and have React components for things like cookie consents in an otherwise pure HTML page with no additional JavaScript.
First I had to basically redo the proof-of-concept in my repository as I didn’t want to just blindly copy everything over. After that I had to start styling. Of course I used tailwindcss to avoid having to write those styles from scratch. Tailwind is rendered by the Vite part of the site which gives the added bonus of being able to use SCSS and Postcss.
Then I had to build out the basic styles and layouts of the site. Starting with the landing page which strongly resembles the one from the previous Next.js site due to it functioning as my personal linktree. And then the pages that most users don’t look at, being the About, Privacy, and Imprint pages. The 404: Not Found page was just a rushed job, I will need to look at it again in the future.
When I started to build the blog pages I really began to struggle as my knowledge of Hugo was not yet well developed, so to say. I had to dig into ranges, conditions, and fetching asset files from the posts or global assets directory. That was also when I looked into image optimization. I found a solution by devnodes.in and later augmented it with the solution by Fabian to automatically remove processed images from the Hugo output to save space which is certainly a concern for me as I only get 10GB of free Hosting storage in Firebase.
{{/* Step 1: A default image as fallback */}}
{{ $image := "/images/placeholder.png" }}

{{/* Step 2: now check if passed image exists with same as title */}}
{{ $img_param := .ImgParam }}

{{/*  check if image is in global resources or page scoped resources  */}}
{{ $image_url := .Page.Resources.Get .ImageSrc }}
{{ if not $image_url }}
  {{ $image_url = resources.Get .ImageSrc }}
{{ end }}

{{- if not (.Page.Scratch.Get "droplist") -}}
  {{- .Page.Scratch.Set "droplist" (slice) -}}
{{- end -}}
{{- .Page.Scratch.Add "droplist" $image_url.RelPermalink -}}

{{ if $image_url }}
  {{/* Resize and convert the image  */}}
  {{ $image_url = $image_url.Resize $img_param }}
  {{ $image = $image_url.RelPermalink }}
  {{ if .ImgAbsoluteUrl }}
    {{ $image = $image_url.Permalink }}
  {{ end }}
{{ end }}

{{ return $image }}# ...
[mediaTypes]
[mediaTypes."text/droplist"]
suffixes = ["droplist"]
[outputFormats.droplist]
mediatype = "text/droplist"
isPlainText = true
[outputs]
page = ["HTML", "droplist"]
# ...With those two files I can optimize images and convert them to WebP which is better for storage and use on the web. I also get a .droplist file in the pages’ directories which used the converter. In those droplist files I have the original files used listed which I can then remove from the output directory with a simple bash script to save space.
Implementing SEO was also a bit rough because you need to constantly reference the schema from https://schema.org/ and really think like the crawler would when it comes to assigning types. Normally in Next.js you would just use a library but this time I wanted to do it myself. There are certainly Hugo modules for things like JSON-LD data but seeing how it is done gives you a better understanding on how SEO actually works, or at least it did for me.
Is that it?
For this post that’s all. But there are still things I will need to do. Things like Table of Contents or looking at how a discussion function could be implemented.


